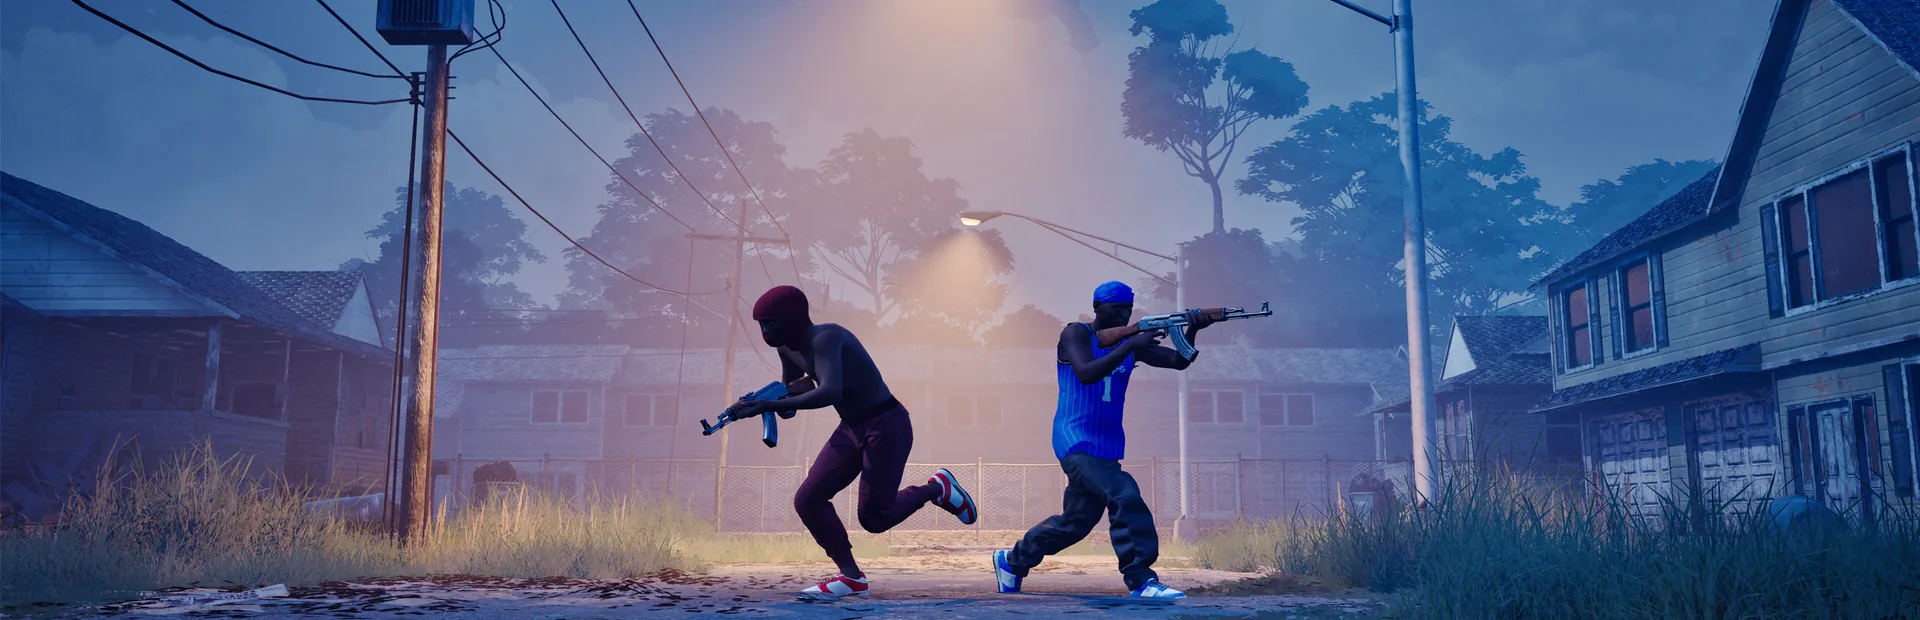
Your first useful goal in Hood Warfare 2 is to understand what makes your chosen match count as a win. The game offers six objectives, customizable weapons, perks and equipment, plus a match setup with bots. Learn one objective before changing several parts of your setup.
This checklist uses the features listed by Trapstar Games. The practice steps are recommendations; they do not claim tested shortcuts, default key bindings or a winning weapon build.
Before your first match
- Check the PC requirements and confirm that your Windows installation has the required free space.
- Read the controls or prompts your installed game actually displays. Use the controls checklist to separate a binding issue from a gameplay question.
- Choose a mode whose objective you can explain in one sentence.
- Prepare a weapon, attachments, perks and equipment that you can equip now. An unavailable unlock cannot be part of a reproducible starting setup.
- Set up a bot match with a chosen map and mode, then check movement, aiming and the relevant objective action.
Bot match setup is confirmed. Whether a particular bot session awards progression or works offline is not established by that feature, so check your actual session before planning an unlock grind around it.
Pick the right objective
| If you want to learn… | Start by reading… | What to pay attention to |
|---|---|---|
| Team combat | GangBang | Your gang's team kill total |
| Individual combat | Chaos | Your own kills; every player fights for themselves |
| Territory control | Turf War | The turf your gang holds |
| Carrying an objective | Hit A Lick | Taking their bag home while protecting yours |
| A round with one life | Destroy The Block | Planting or defusing the bomb |
| Scoring after a kill | Chain Snatch | Collecting enemy chains and recovering friendly chains |
Use the mode browser to compare these jobs. Exact score limits, timers and mode-specific settings should come from the match you join.
Give each practice match one job
Keep the same map and mode while learning a particular action. First check inputs, then identify the objective, then compare a single setup change. Changing the map, weapon, attachments and sensitivity together makes it difficult to understand which change helped.
The four named maps are Downtown, Suburbs, The Trenches and Chicago Mall. Select a map deliberately; its name does not give you a verified spawn diagram or objective location. The map guide links each map overview.
After a match, ask three questions: what did the mode require, what did my next action contribute, and which one thing should I check in the next match? This is a learning routine, not a guaranteed way to win.
Follow the correct progression path
| Goal | Confirmed route | Useful page |
|---|---|---|
| More weapons and equipment | Play matches and level up | Weapon unlock tracker |
| More attachments | Complete weapon challenges | Attachment challenges |
| New skins for a gun | Get kills with that gun | Weapon skin guide |
These routes are different. A new player level does not by itself establish that a particular attachment challenge or skin requirement has been completed. Record the requirement displayed for the item you want rather than assuming another game's thresholds apply.
Keep a setup you can reproduce
Use the loadout notes tool to save the weapon and options you actually selected. Add the mode and the problem you are testing, then compare one change at a time. Your notes describe your own experience and do not become an official tier list.
For mouse aiming, the sensitivity workspace helps record a baseline. For a gamepad, check the controller setup guide. The listed PC release and controller support do not establish a console release or Steam Deck compatibility.
Official source
Game features, progression routes and mode objectives: Hood Warfare 2 on Steam, checked October 13, 2026. Browse the complete guide library when you need a specific topic.