
Hood Warfare 2 Destroy The Block is a bomb-objective mode with one life per round. One gang attacks with the bomb, while the other tries to stop it. Planting and defusing are the central objectives; the mode is not described as earning points by destroying buildings.
Bomb timers, interaction controls, site locations, and elimination outcomes are not established here. Treat those as details to confirm in your current match, not rules to import from another shooter.
Identify your role before moving
The attacking gang has the bomb. Its task is to work toward the planting objective. The defending gang must prevent that task or deal with the bomb through defusing.
Confirm which side you are on before making an opening decision. The same position can support a different job depending on whether your team needs to reach the objective or prevent the other gang from doing so.
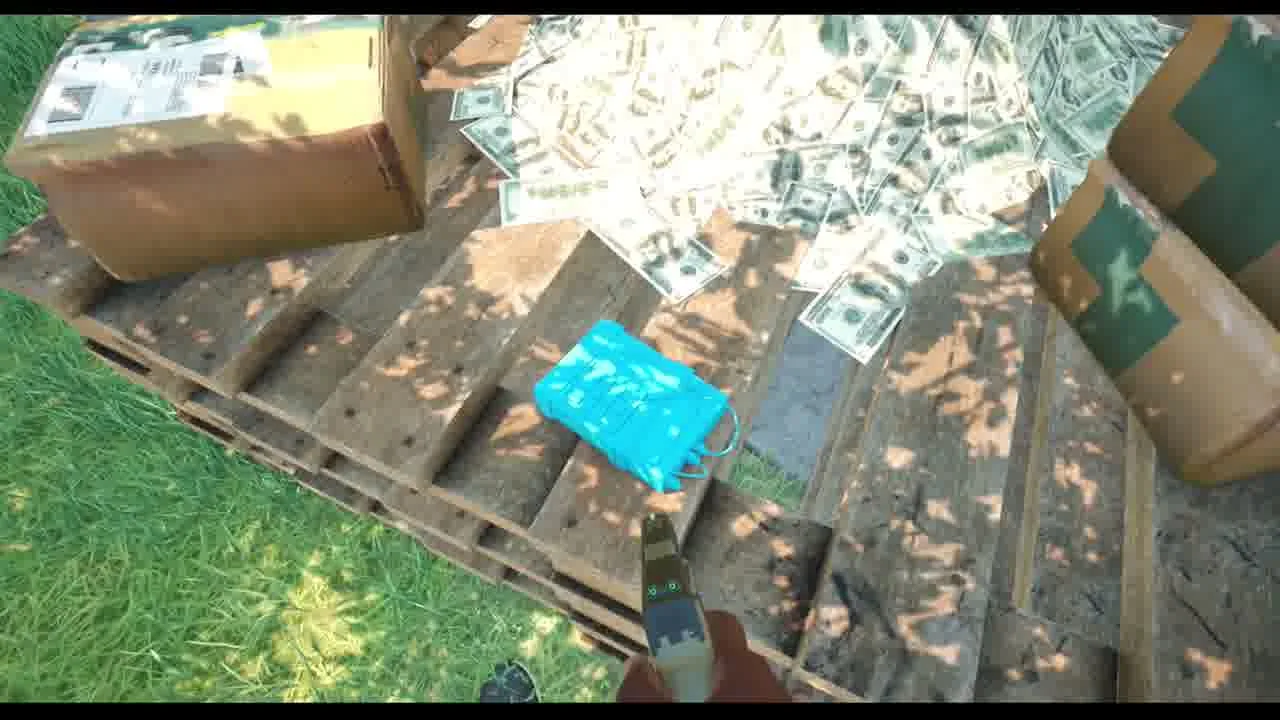
Use the highlighted device as an objective-identification reference. The frame does not show a completed plant or defuse.
A useful team agreement is to identify who is moving with the bomb and who is supporting that movement. On defense, identify the objective you need to protect. This is a coordination recommendation, not a claim that the game requires named roles or a fixed formation.
Attacking decisions
On attack, consider whether an encounter helps the bomb task. Removing an opponent can open a path, but chasing someone away from that task may leave the team without useful support.
Before attempting the objective interaction, check the immediate danger and whether teammates can help cover the area. Avoid assigning a specific planting duration or assuming a particular interaction key: neither is confirmed here.
If the bomb has been planted, direct attention toward preventing a defuse. Do not assume that a plant alone guarantees the round result or that the timer matches a familiar game.
Defending decisions
On defense, prioritize stopping the planting attempt rather than pursuing every opponent. If your team loses sight of the objective while chasing a fight elsewhere, it may give the attacking gang room to work on its task.
When defusing is needed, consider how teammates can help protect the attempt. The exact interaction requirement and time available must come from the current match. No particular equipment shortcut or faster-defuse perk is established here.
Make the one-life rule shape your risk
You cannot treat a failed push as an immediate chance to try the same approach again within the round: the mode allows only one life per round. That makes information, timing, and coordination relevant before you commit.
As a learning routine, decide what an engagement should accomplish before taking it. The aim might be supporting the bomb's movement, stopping the attack, or making a defuse attempt possible. This does not guarantee safety, but it gives the risk a clear purpose.
Confirm the details that affect a round
Check the active round information for the available objective locations, interaction prompts, and timing. Exact round counts, side-switch rules, respawns between rounds, and all-enemies-eliminated outcomes are not covered here. The confirmed foundation remains attacking, defending, planting, defusing, and one life per round.