There is no verified universal best loadout for Hood Warfare 2 here. You can customize a weapon and prepare perks and equipment before a match, but a named winning combination needs weapon data and comparisons that are not available. Start with a setup you can actually equip, then judge it against the job you want to perform.
Decide what the setup must help you do
A loadout choice should begin with the match objective. These are useful questions for planning a setup, rather than claims that particular weapons or perks receive a mode bonus.
| Match objective | Question to ask before choosing a setup |
|---|---|
| Hold territory in Turf War | Can I use this setup comfortably while staying near the area my team needs? |
| Secure kills in GangBang or Chaos | Can I repeat accurate engagements with the weapon I have chosen? |
| Bring an enemy bag home in Hit A Lick | Can I use this setup reliably while moving between the two sides? |
| Plant or defuse in Destroy The Block | Am I comfortable relying on this configuration for a round with one life? |
| Collect dropped chains in Chain Snatch | Can I use the configuration while moving toward the pickups that score? |
The objective tells you what to evaluate. It does not establish that one gun is always better for the mode.
Check the whole configuration before playing
Weapon customization includes sights, magazines, grips and suppressors. Perks and equipment are also part of preparing your loadout. The effects, compatible options and available slots must come from the choices shown in your game; the category name alone does not establish a benefit.
Use the configuration view to check the actual selections you intend to take into the match. A weapon image can help you recognize the setup, but it cannot demonstrate damage, accuracy or a hidden perk effect.
For a useful personal record, write down the weapon, each selected attachment, the perks, the equipment and the mode. Keep unavailable choices out of the record so that you can reproduce the setup later.
Compare one change at a time
Try this recommended comparison routine:
- Play with a configuration you can use consistently and note what feels difficult.
- Pick one problem to examine, such as identifying a target through the sight you selected.
- Change one available option while keeping the rest of the configuration the same.
- Compare it in a similar situation and record whether it helped that specific problem.
- Keep the choice that you can use reliably, then examine another part of the setup separately.
This is a way to make your own comparison, not a tested meta build. A good result from one match also needs context: a different map, opponent or objective can change the demands on your setup.
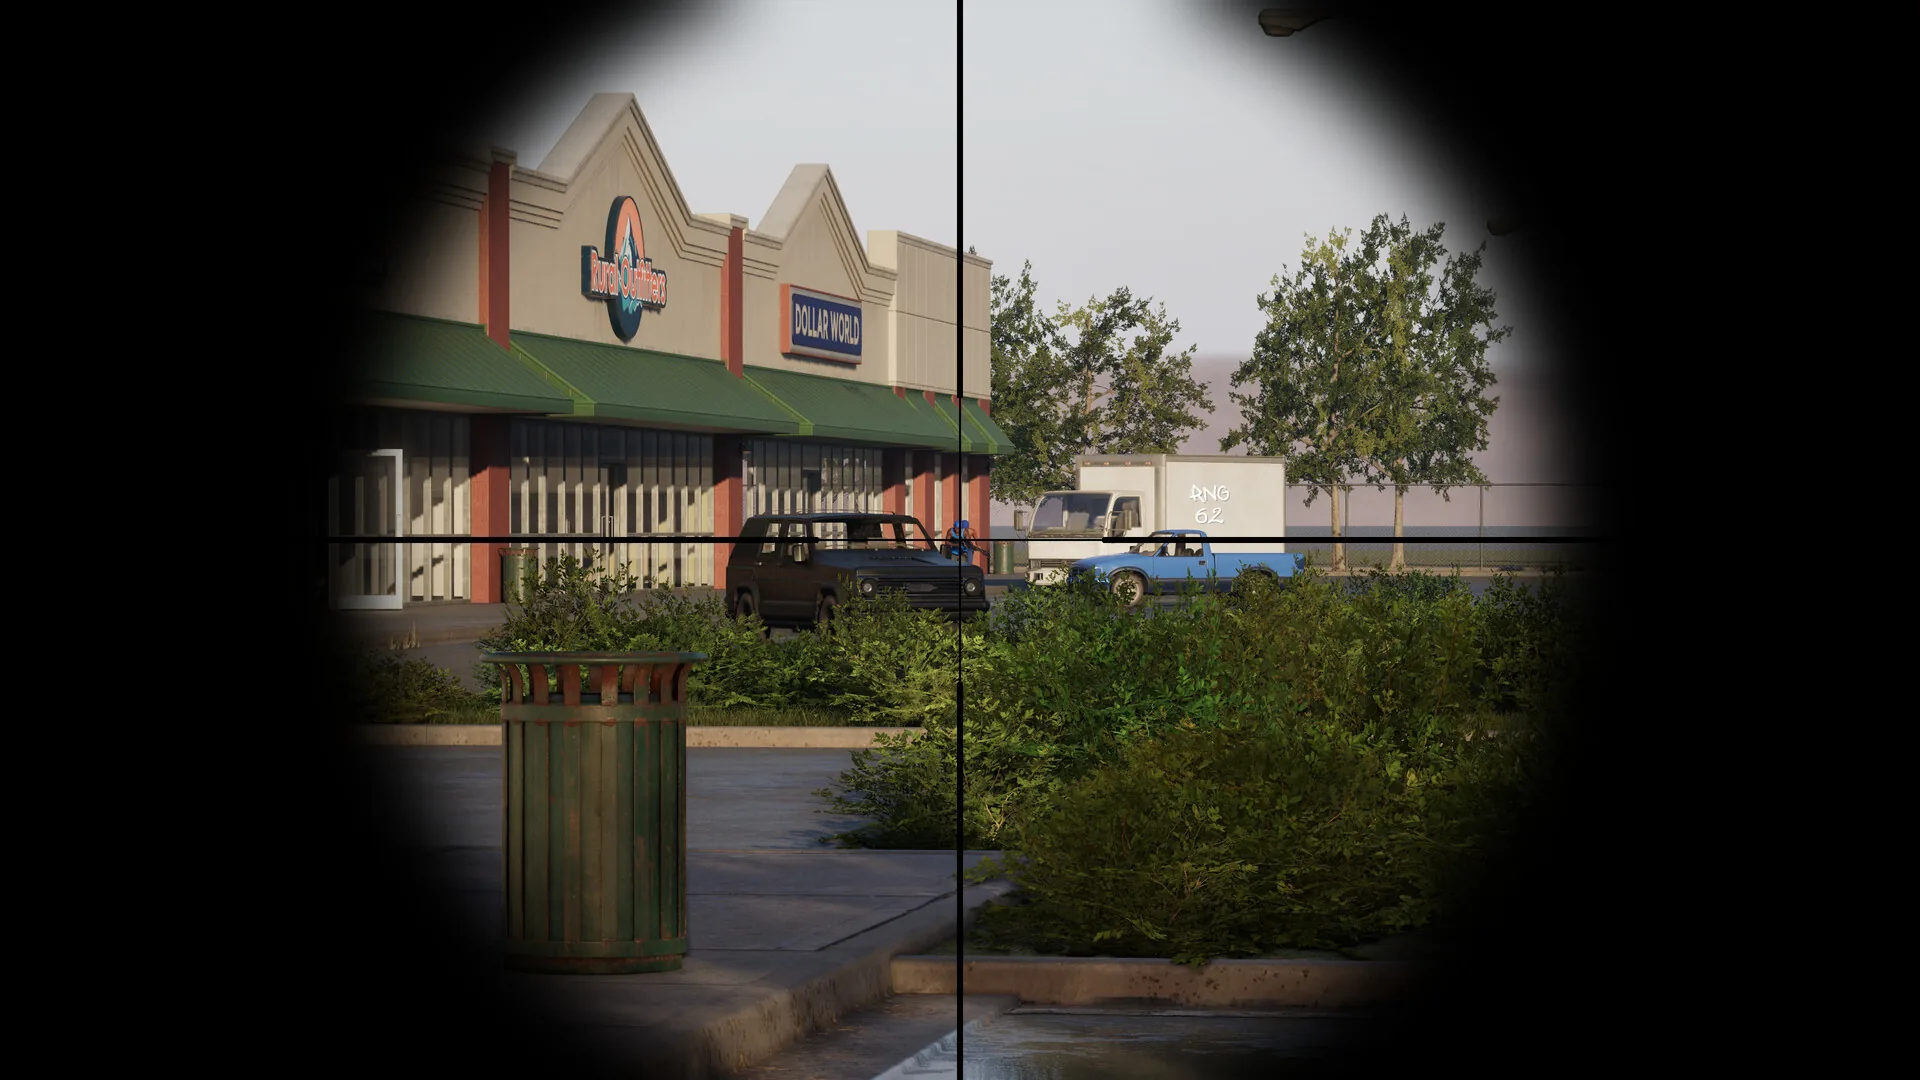
Use a consistent visual reference when comparing a sight picture; this view does not establish a best weapon or optic.
Check access before copying a build
Leveling unlocks more weapons and equipment, while weapon challenges unlock attachments. A suggested configuration is useful only if you have its required options. Keep an accessible version as your starting point, and reassess each newly available choice instead of treating every unlock as an automatic improvement.